Organizing a Lifetime of Family Photos for the Next Generation
A practical, archivist-backed guide to sorting, labeling, digitizing, and storing family photos so the faces and stories inside them survive for generations.
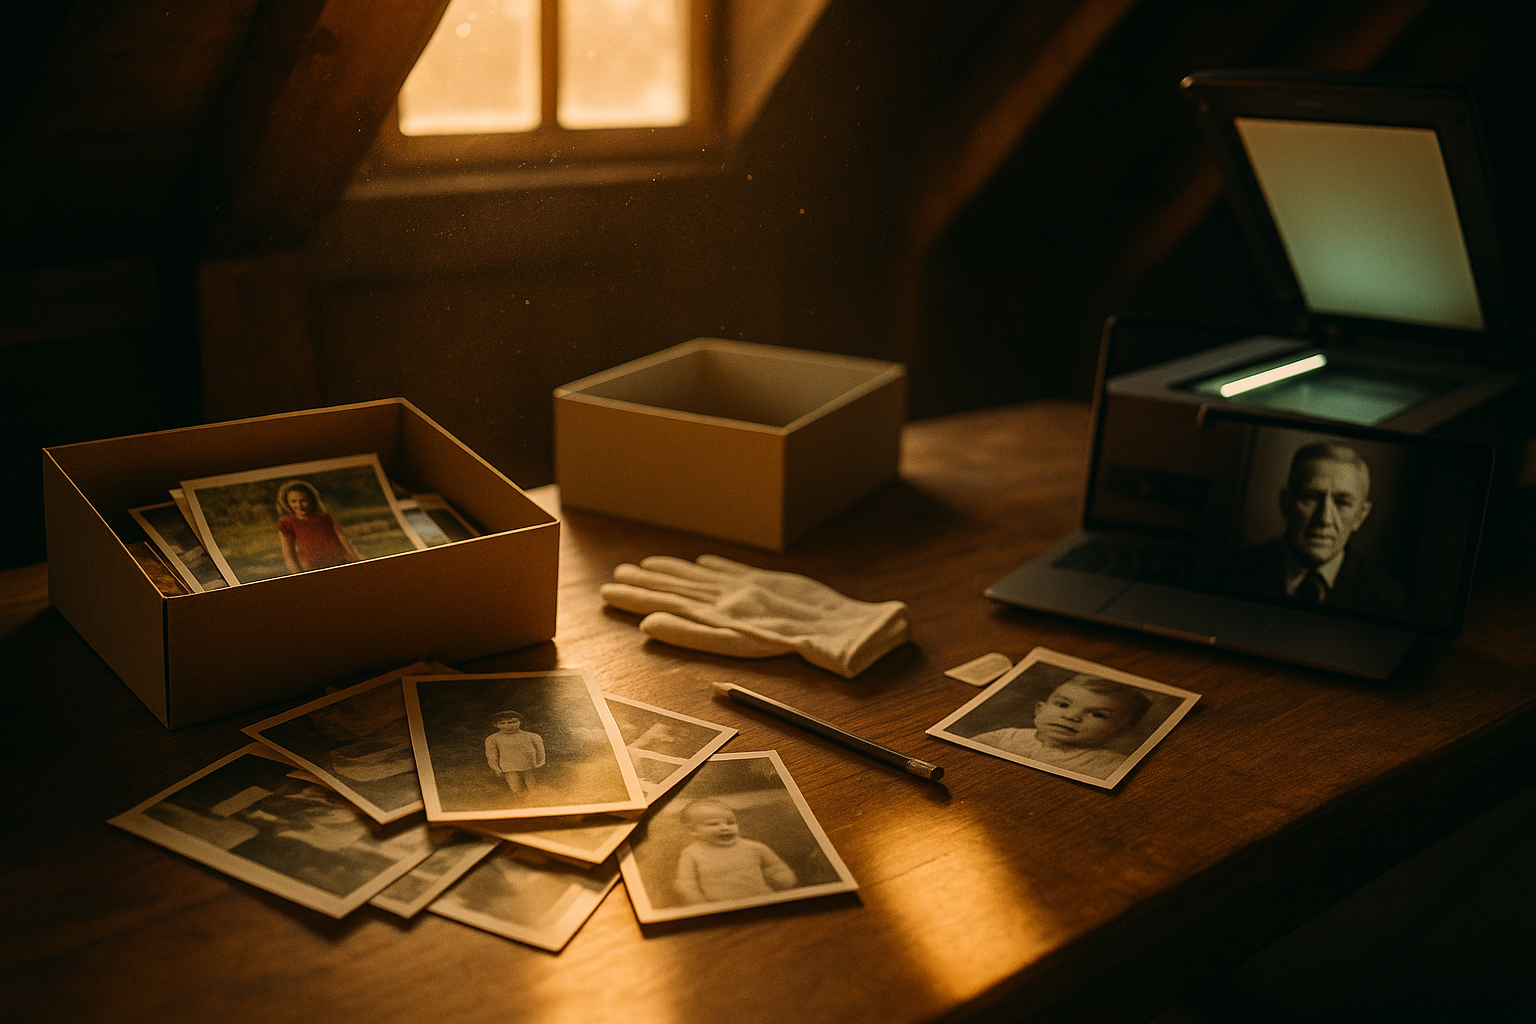
Why That Shoebox in the Closet Matters More Than You Think
Almost every family has one: a closet shelf, an attic bin, or a dresser drawer stuffed with envelopes of curling prints, loose Polaroids, and a few fragile albums nobody has opened in years. It feels like a project for "someday." But archivists who work with personal collections consistently make the same point — the photographs themselves usually aren't what's at risk of disappearing first. It's the stories behind them. As one long-time photo preservation specialist put it after decades in the field, most families do not lose their photographs first. They lose the stories.
That single insight reframes the whole task. Organizing a lifetime of family photos isn't really about tidying a closet — it's about rescuing meaning before the people who hold it are gone. For families who want to go a step further and pair those photographs with the actual voices and memories of the people in them, Voice After Life.com offers a way to preserve those spoken stories alongside the images themselves. But before recordings or scans can help anyone, the photos need a plan.
Start With Small, Manageable Sessions
It's tempting to imagine tackling the whole collection in one heroic weekend. Archivists who help families with this exact challenge advise against it. As one library preservation expert cautioned in a recent interview, "Don't anticipate that you're going to have everything digitized, cataloged, housed, and looking like the Library of Congress in a week." This is long-term work, and the same guidance recommends treating it that way: this is long-term work, and "takes years to work on" — so "set yourself very small, manageable goals."
A good first step is simply making an inventory as you go. Library guidance recommends that collectors create an inventory of your collection and regularly update it as you add more items. Sort into rough categories first — by decade, by side of the family, or by event — rather than trying to achieve a perfect system on day one.
Label Before Memory Fades
Of every step in this process, labeling is the one families regret skipping the most. A photograph with no name, date, or place attached becomes a beautiful mystery instead of a family record. As one museum preservation guide bluntly puts it, the tragedy of an unlabeled photo is real: any museum professional or family historian understands how tragic it is to stare at an amazing old photo—and have no clue as to its identify, date or location. The photo was taken for a reason, but the reason is lost forever.
When you do label prints, do it carefully. Preservation guidance recommends handling prints properly and marking them safely: avoid touching the image area of a photograph, and whenever possible handle the photograph by its edges or its housing materials. If you need to write on a print at all, museum standards favor a soft pencil rather than pen, since pencil lead #1 or #2 is the museum gold standard for labeling anything on paper, because it is soft and erasable, while ink pens or markers create permanent, damaging change over time. Whenever possible, write on the back near the edge, or label an enclosure instead of the photo itself, following the same principle recommended by the Library of Congress: if absolutely necessary, limit markings and write on the back and near the edge with a soft graphite pencil; it is preferable to mark the photograph's housing materials.
If you have living relatives who remember the people in unlabeled photos, this is the moment to sit with them. A short conversation — who is this, where was it taken, what was happening that day — can turn a stack of anonymous faces into a documented family record before that knowledge is lost for good.
Digitizing: Getting the Settings Right
Once prints are sorted and labeled, digitizing protects them from further handling and creates copies that can be shared widely. Resolution matters more than most people expect. General guidance suggests scaling your scan resolution to the size of the original: standard prints do well at a moderate setting, while smaller or more detailed originals need much higher resolution. Industry guidance recommends, for example, that standard photos (4x6, 5x7, 8x10 inches) be scanned at 300–600 DPI, smaller wallet-sized photos at 600–1200 DPI, and larger photos at 300 DPI or 600 DPI for higher quality. As a rule of thumb, remember that you can always save a copy to a lower resolution, but you can't add image quality without re-scanning the original.
File format matters too. Long-time collectors who have scanned thousands of images tend to favor an uncompressed archival format, noting that the tiff format has remained the same since 1992 and is generally viewable by most computer programs, unlike more compressed everyday formats.
Store It Like an Archivist Would
Digitizing isn't a replacement for caring for the physical originals — it's a complement. The Library of Congress recommends that collectors store all photographs (whether matted or enclosed in paper or plastic) in photo-safe boxes, and that negatives be kept separate from prints since some negatives can produce harmful gases as they age. Consumer guidance echoes this simple standard: when storing old photos and documents make sure you house them in museum quality or archival acid-free folders and boxes.
For the digital copies, don't rely on a single hard drive or one cloud account. Preservation professionals widely recommend the "3-2-1" approach to backups: using the 3–2–1 rule, you will make three copies of each file, split and stored on different storage mediums — for example, one on an external hard drive and two in cloud storage — with at least one of these copies held off site. This simple habit protects decades of family history from the single point of failure that so often causes photos to be lost for good: a dead laptop, a flooded basement, or a forgotten password.
Turning an Archive Into a Living Story
A well-organized, labeled, and backed-up photo collection is a gift in itself. But photographs only show what someone looked like — they can't tell you how their laugh sounded, what advice they gave, or how they told the story behind that photo at every family gathering. That's where preserving an actual voice recording alongside the image adds something a photo alone never can. Families who want to pair a labeled photograph with the sound of the person's own voice, describing that exact moment in their own words, can explore how voice and story preservation works at Voice After Life as a complement to the archive you've already built.
However far you take the project, the most important step is simply the first one: open the box, start sorting, and write down what you still remember before it's the only thing standing between a photo and a mystery.
- Voice After Life.com
Sources
- Care, Handling and Storage of Photographs — Library of Congress
- How to Archive Family Photos History Preserve Old Documents — KQED
- How to Preserve Family Photos, Videos, and Memories for Future Generations — Consumer Reports
- Best Resolutions for Scanned Photos and Documents — Family Tree Magazine
- What is the Best Resolution to Scan Old Pictures? — Kodak Digitizing
- A how to guide for scanning in old family photos — The Visual Preservationist
- Make Copies - Level 2 (3-2-1 Rule) — Digital Preservation Coalition
- 5 Tips for Photo Labeling (Before They Become Tragically Unidentified)! — Edmond History Museum
- Best tips to identify old photos before memories fade — ScanMyPhotos Journal