How to Digitize Old Family Photos and Preserve Them for Good
A practical, research-backed workflow for scanning, naming, storing, and backing up old family photos so they survive for generations.
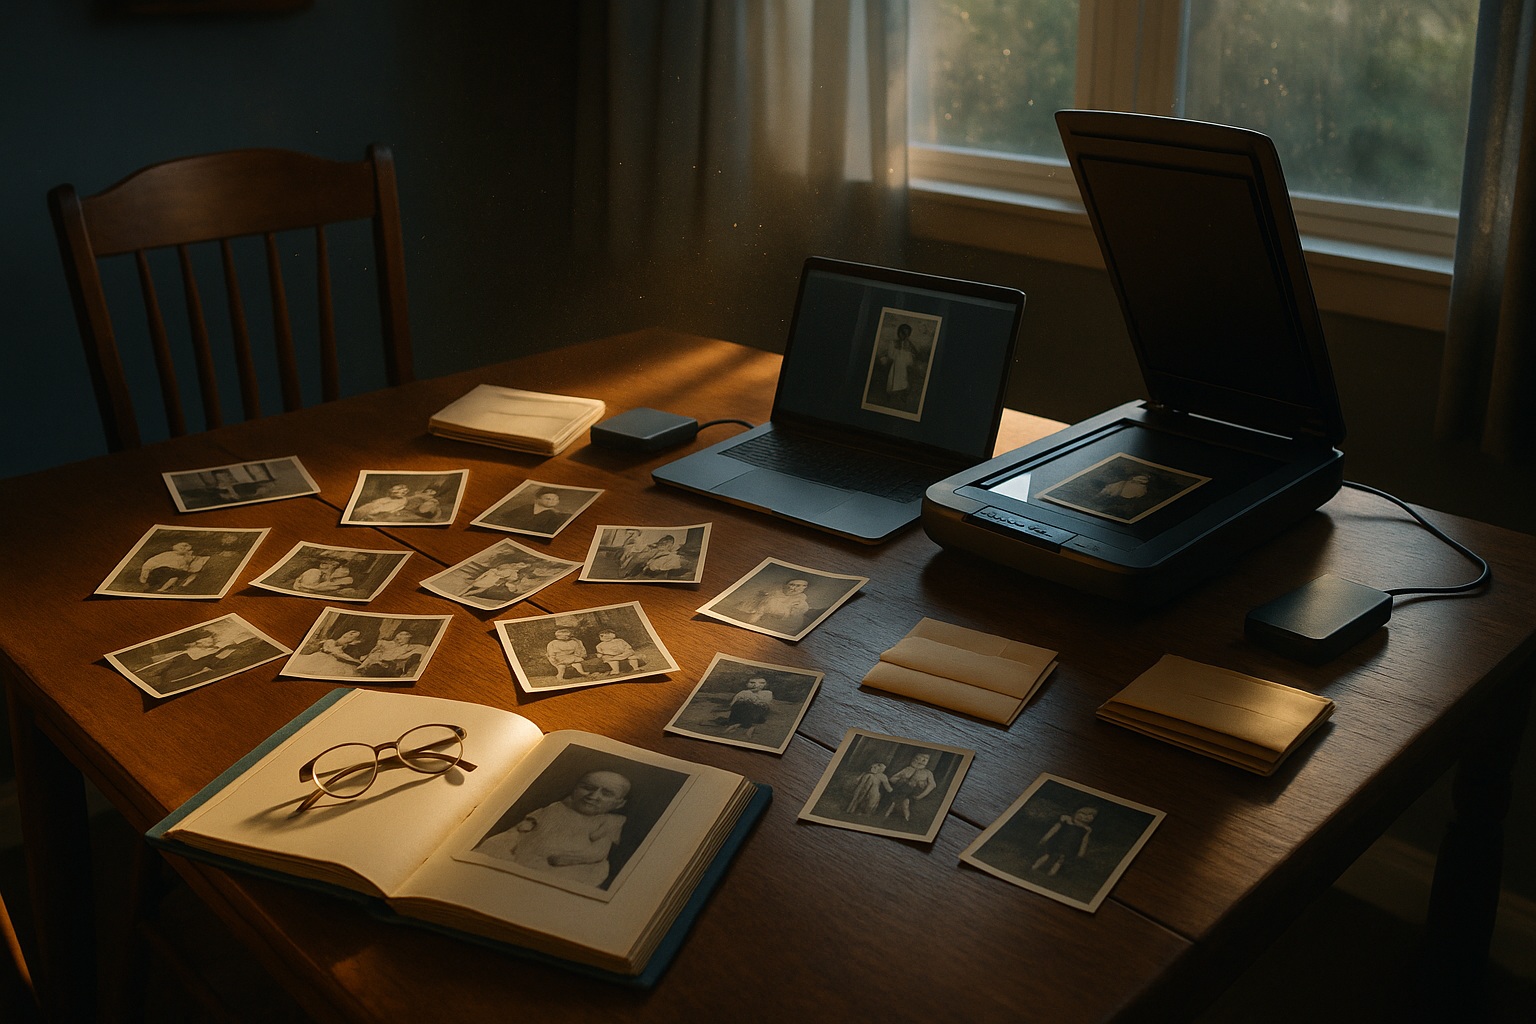
Every family has a shoebox, album, or attic bin full of photographs that are one flood, one house fire, or one faded print away from being lost forever. Digitizing those images is one of the most meaningful things you can do for future generations — but doing it well takes more than pointing a phone camera at a print. This guide walks through a complete workflow: how to scan, what resolution and file format to choose, and how to store and back up your digital collection so it truly lasts.
Step 1: Prepare and Sort Before You Scan
Before any scanning begins, spend time sorting your photographs. Group them by decade, family branch, or event if you can, and set aside any prints that are torn, stuck together, or affected by mold — these may need gentle handling or professional restoration. Working in small batches makes the project feel manageable and helps you stay consistent with labeling as you go.
Step 2: Choose the Right Scanning Resolution
One of the most common questions in any digitization project is what resolution, or DPI (dots per inch), to scan at. The right answer depends on the size of the original photo and how you intend to use the digital copy.
For standard prints, most experts agree that standard photos such as 4x6, 5x7, and 8x10 inches should be scanned at 300-600 DPI, while smaller wallet-sized photos benefit from 600-1200 DPI. If you're unsure how a photo will be used down the road, it's worth scanning higher rather than lower: if you don't know how the digitized photo will be used or you're scanning it to archive for posterity, scan at least 600 and up to 1200 dpi, since you can always save a copy to a lower resolution, but you can't add image quality without re-scanning the original.
For federal and institutional benchmarks, the FADGI guidelines for digitizing prints and photographs used by the Library of Congress and the National Archives recommend a minimum of 400 PPI for high-quality print digitization. Negatives and slides are a different story entirely — because the originals are so much smaller, slides and negatives should be scanned at a higher DPI rate, anywhere from 1,500 to 3,000, since negatives and slides especially can benefit from higher-resolution scanning because they often contain more recoverable image detail than printed photos.
If you're scanning with a smartphone app rather than a flatbed scanner, keep in mind that unlike a traditional flatbed scanner, smartphone scanning apps do not let you choose a DPI setting — instead, scan quality depends on your phone's camera resolution. A flatbed scanner will generally give you more control and consistency for a large archival project.
Step 3: Pick a File Format — Master Copies vs. Everyday Copies
Once you've settled on resolution, the next decision is file format, and here it helps to think in terms of two versions of every photo: an archival master and an everyday access copy.
For the master file — the one you'll protect and rarely touch — TIFF is considered the highest quality image format for preserving photos because it is lossless, uncompressed, and the archival standard used by the Library of Congress. Institutions agree on this point: a consortium of major institutions including the British Library, the Library of Congress, and the National Archives concluded that TIFF is widely regarded as the correct format for archiving master image files.
The tradeoff is size. A 4x6 photo scanned at 600 DPI as a TIFF can run ten times the size of a high-quality scanned JPEG of the same photo without looking any better on screen. That's why many preservation guides recommend a two-tier approach: the archival master should be created in a stable, lossless format like TIFF and preserved carefully and rarely touched, while a lighter, compressed access copy in JPEG is generated from the master for daily use. For most families, a high-quality JPEG of everyday snapshots is perfectly adequate, while TIFF masters make the most sense for especially precious or fragile originals.
Step 4: Name and Tag Your Files So They're Findable
A photo with a file name like "IMG_4831.jpg" tells your grandchildren nothing. When you scan a photograph, save the file to your computer with a descriptive name — the default names generated for most files won't be meaningful to your research or help you find the file later. A simple, consistent naming convention (surname, year, event) makes a collection searchable for decades to come, and it matters more than most people expect: whatever file-naming scheme you adopt, your files will be easier to organize and access if it's simple and consistent for all your digital images.
Beyond file names, embedded metadata adds another layer of context. Metadata is embedded information that can stay with your photo when it's uploaded online — it's similar to writing on the back of a photograph. Taking the time to add names, dates, and locations to your files means the story behind each image travels with it, even if it's later copied, shared, or moved to a new device.
This is also where preserving context beyond the image itself matters. A photograph tells you who was there, but it rarely tells you what that moment sounded like — a grandparent's laugh, the story behind the trip, the nickname only they used. Recording a short voice memory alongside a scanned photo, through a service like Voice After Life, can capture that missing layer so future generations don't just see the past, they can hear it too.
Step 5: Build a Backup Workflow You Can Trust
Digitizing your photos accomplishes nothing if the only copy lives on one hard drive or one phone. This is where the widely used 3-2-1 backup rule comes in, a method typically attributed to photographer Peter Krogh, who wrote about it in his 2009 book The DAM Book: Digital Asset Management for Photographers.
The rule itself is straightforward: you should have three copies of your files, stored on two different types of media, with one copy kept offsite. In practice, that might look like the original files on your computer, a duplicate on an external hard drive, and a third copy in a cloud storage service. This approach matters because, as one guide puts it, the longevity of digital photos is not guaranteed — hard drives fail, phones are lost, and fires, floods, and theft happen.
Cloud storage alone isn't usually considered sufficient on its own. While cloud storage is a great option for offsite backups, it's advisable not to rely on just one method — combine cloud storage with a local backup, such as an external hard drive. Some families go a step further and split their offsite protection across more than one provider, since some people keep copies in two different cloud services for added protection, especially for irreplaceable family collections.
It's also worth remembering that digitizing doesn't mean discarding. Original prints can still have historical and sentimental value, so store them in archival-quality boxes in a cool, dry location whenever possible — a digital backup and a well-preserved physical original aren't mutually exclusive; they're complementary layers of the same preservation strategy.
Step 6: Revisit and Migrate Your Files Over Time
Digital preservation isn't a one-and-done project. File formats, storage media, and devices all change over the years, so periodic maintenance matters. Technology evolves, and some file formats become obsolete, so regularly converting files to widely accepted formats helps ensure your archive remains usable decades from now. Set a reminder — once a year is reasonable — to check that your backups are intact, your cloud subscriptions are active, and any new photos or scans have been added to your system.
A Living Archive, Not Just a Backup
The goal of digitizing family photos isn't simply to avoid loss — it's to make sure the people and moments in those images remain vivid and accessible to the people who come after us. A thoughtful scanning, naming, and backup workflow turns a box of fading prints into a resilient, searchable archive that can be added to, shared, and passed down for generations, alongside whatever other forms of memory — written, spoken, or recorded — your family chooses to preserve.
Sources
- Best Resolutions for Scanned Photos and Documents — Family Tree Magazine
- What is the Best Resolution to Scan Old Pictures? — Kodak Digitizing
- What is the Best Resolution for Scanning Photos? — Forever Studios
- What Resolution Should Old Photos Be Scanned At? — Photomyne
- Best Resolution For Scanning Old Photos — Nostalgic Media
- What is the Highest Quality Image Format? — Forever Studios
- Choosing the Right File Formats for Digitisation — LIS Academy
- What is the 3-2-1 rule in photography and why do photographers need it? — DPReview
- How to Back Up Photos: The Best 3-2-1 Backup Method Guide — Alan Ranger Photography
- Protect Your Digital Memories with the 3-2-1 Photo Backup Method — Enjoy The Photo Moments
- 3-2-1 Backup Rule: Keeping Your Digital Files Safe for the Long Haul — Permanent.org
- What Is the 3-2-1 Backup Rule for Digitized Collections? — Smooth Photo Scanning
- 6 Tips for Organizing Your Digital Genealogy Files — Family Tree Magazine
- A Simple File-naming System for Digital Images — Family Tree Magazine
- Genealogy 101 | Getting Organized — FamilySearch