How to Turn Handwritten Family Recipes into a Keepsake Cookbook
A step-by-step guide to gathering, preserving, and binding handwritten family recipes into a lasting keepsake cookbook the whole family can treasure.
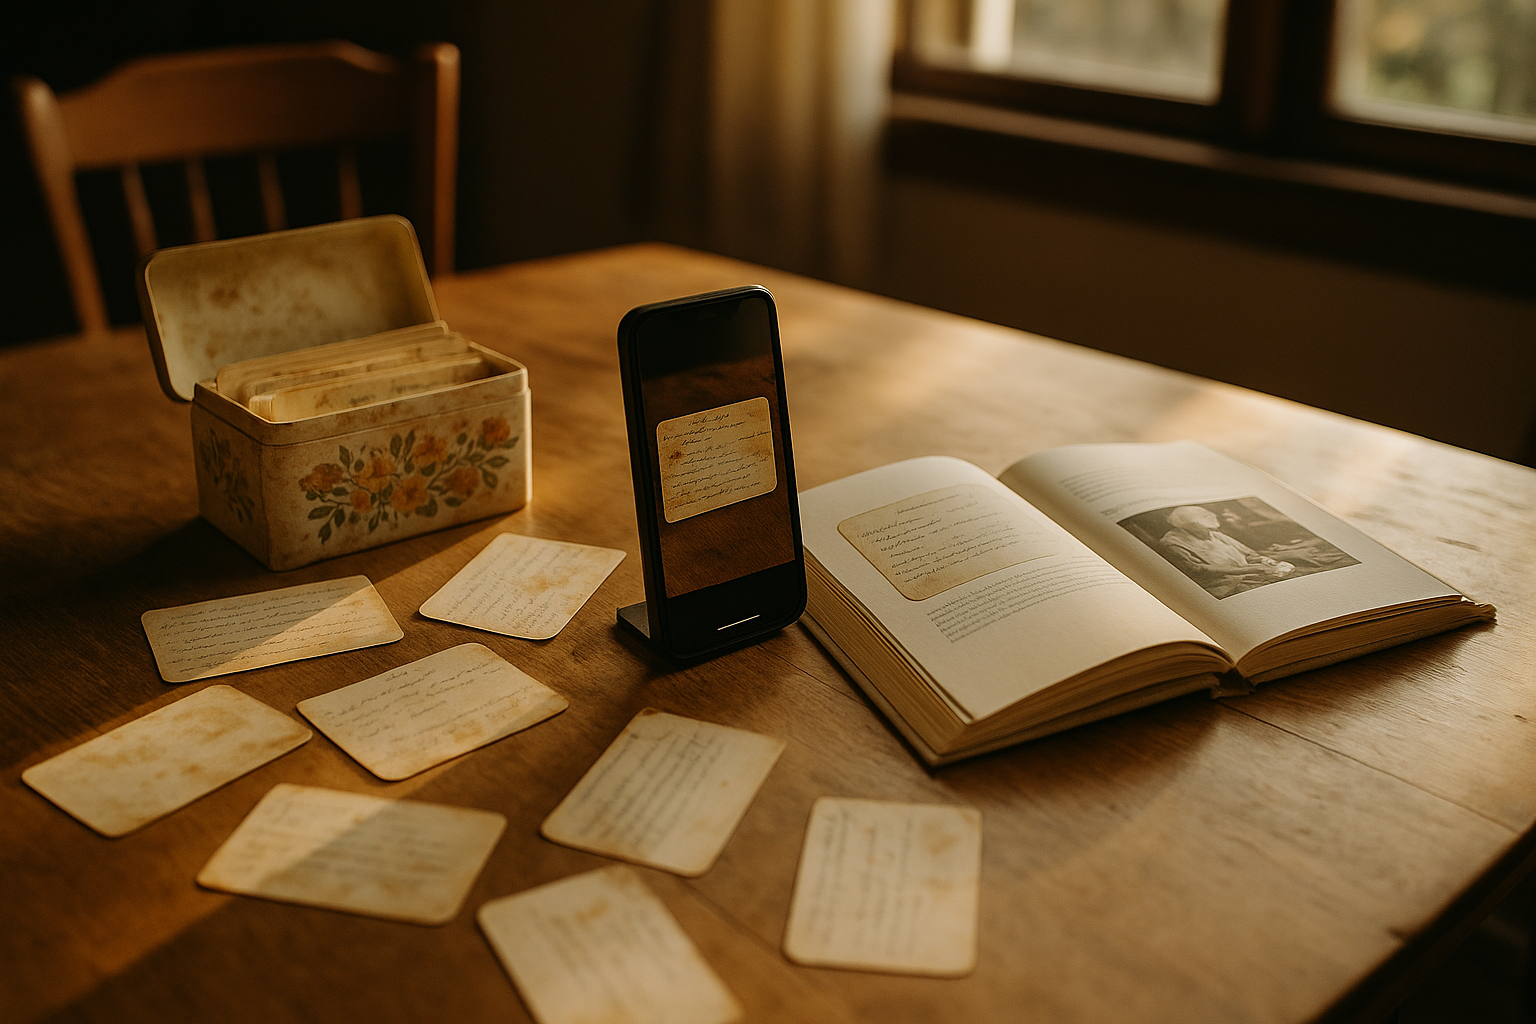
Why Handwritten Recipes Deserve Special Care
A recipe card is rarely just a list of ingredients. The National Archives notes that handwritten or typed recipes can be very personal and often show evidence of years of use, with papers and cards folded, torn, and embellished with spills and food stains. Those imperfections are part of the story — proof that someone stood at a counter, flour on their hands, making the same dish for a family that would one day be yours.
Turning a shoebox of splattered cards into an organized, durable keepsake cookbook is one of the most rewarding preservation projects a family can take on. It doesn't require professional archiving skills — just a plan, some patience, and a little know-how about protecting fragile paper. Here's how to do it step by step.
Step 1: Gather Every Recipe You Can Find
Before you can preserve anything, you need to know what you have. Recipes tend to be scattered across kitchen drawers, old binders, and relatives' memories.
Start close to home. The first step in creating your cookbook is to collect all those cherished recipes by looking through kitchen drawers for hand-written recipe cards, old cookbooks, and even digital notes kept on a phone or computer. Then widen the search: check old recipe boxes and binders that have been passed down through the generations — you might find handwritten cards with a secret ingredient or a yellowed newspaper clipping of a famous chili recipe.
Don't forget to loop in relatives. Gather recipes from texts and emails, checking messages and social media for anything that's been shared over the years. Set a soft deadline for submissions, since this kind of project will take time — mostly waiting on people to send their recipes — so it helps to send requests as soon as possible.
Step 2: Handle Originals With Care
Once you've collected the cards, resist the urge to start cooking with them right away. If you've inherited a handwritten recipe from a family member, it's a good idea to cook with a copy rather than the original, since spills and stains are likely in the kitchen — take a photo of the original or scan it, then use the digital version while cooking.
When it comes to storing the originals long-term, follow guidance similar to what archivists use for family papers. Avoid making additional folds in the paper, store it flat whenever possible, and handle recipes with care, as you would any paper item. Former National Archives conservation chief Mary Lynn Ritzenthaler recommends going a step further: store the original in a clear polyester film sleeve, then file it in an archival folder or box, and avoid making additional folds because they weaken the paper.
If you want to invest in proper supplies, look for materials designed for long-term paper storage. Uncoated archival polyester is recommended for sleeves, envelopes, and folders because it is very stable. Just be mindful of thickness and use case — if your originals are brittle, torn, or heavily used, place each sheet in a polyester sleeve, which reduces the risk of tears and other damage from handling. For humidity and temperature, the National Archives advises keeping items in stable conditions: keep the temperature below 75°F and relative humidity below 65% to prevent mold growth, while avoiding very low humidity, which can cause brittleness.
Step 3: Digitize Before You Do Anything Else
Digitizing is the single most important safeguard in this whole project — it protects the content even if something happens to the paper itself.
You can capture the recipes using a scanner, camera, or smartphone; if you're taking pictures, make sure you have good lighting and take pictures straight on so the recipe is easy to read. A dedicated scanning app can make this faster — one family cookbook creator shares that she likes to use the Adobe Scan app so I can grab easy-to-read copies of handwritten pages .
As you digitize, consider preserving more than just a flat image. One recipe-archiving guide suggests a layered approach: preserve three layers whenever possible — the original image, a faithful transcription, and a polished family version — which gives you archival accuracy, searchability, and usability all at once. That transcription step matters especially for recipes written in shorthand or old-fashioned measurements, since it can be a little hard to make out certain ingredients or instructions if the cards were written quickly or in a shorthand script you no longer recognize.
Digitizing recipes is also a natural extension of preserving other family memories — the same instinct that leads people to safeguard a loved one's voice and stories for future generations. A recipe in Grandma's handwriting and a recording of her voice serve the same purpose: they let her presence stay part of family gatherings long after she's gone.
Step 4: Fill in the Gaps — Measurements and Memories
Many beloved family cooks never measured anything precisely, which can make transcription tricky. A common hurdle in recording family recipes is that lots of experienced home cooks don't measure anything, so asking a family's star chef how much of an ingredient to add might get a frustratingly vague answer like "some" or "not too much." If possible, cook the recipe together with that family member and measure as you go, or ask a few relatives to test it and compare notes.
This is also the moment to capture the stories behind the dishes. The most memorable family cookbooks include short notes about who made each dish, when it was served, why it mattered, and any special family memory connected to it — along with photos of relatives, gatherings, finished dishes, or old kitchens. A handwritten recipe already carries emotional weight: a smudge on the corner may have come from a rushed holiday morning, and a crossed-out sugar amount may reveal a health change or a generation learning to cook with less — preserving a recipe means preserving evidence of how families adapted, celebrated, and improvised.
Step 5: Organize and Design the Cookbook
With recipes gathered, digitized, and annotated, it's time to build the structure. Break the process into simple steps: gather recipes, invite family members to contribute, organize recipes into categories, select a cover, add photos and personal notes, proofread everything, and order printed copies.
When designing layout, consistency helps readers actually use the book in the kitchen. Choose a recipe layout that is easy to read and consistent across the book — recipe layout tools can control fonts, ingredients, directions, comments, columns, and photo placement. Many families also choose to preserve the look of the originals by scanning cards directly onto the page: adding images of well-loved recipe cards to the book adds personality to the pages and allows copies to be shared with the whole family.
Don't skip the final quality check. Edit for readability by cutting extraneous details, adding explanation where necessary, and injecting personality into the writing — then move to copyediting, and if grammar and spelling skills aren't strong, ask someone else to take on that step.
Step 6: Choose How to Print and Share It
Once the content is finalized, you have several paths to a finished, bound keepsake — from a simple binder to a professionally printed hardcover. One writer describes how she preserved her grandmother's handwritten recipe collection: she scanned all the pages of the book and turned it into a beautiful hardcover cookbook, printing two copies — one for her mother and one for her mother's sister. The result was more than decorative — both recipients loved it, with one reading the entire book cover to cover more than once and reminiscing about favorite memories around each recipe.
If you'd rather keep things simple, a binder works well too: you'll need a good 3-ring binder, divider tabs, and sheet protectors, and adding family photos and kitchen keepsakes personalizes the book further. Whatever format you choose, remember the deeper purpose. As one cookbook creator put it, a finished recipe book isn't just a place to store original recipes — it's a family archive, built to last .
A Living Project, Not a One-Time Task
A keepsake cookbook doesn't have to be finished all at once, and it doesn't have to be perfect. New recipes, new photos, and new stories can be added as the family grows. What matters most is that the handwriting, the stains, the crossed-out measurements, and the memories attached to each dish are given a safe, lasting home — one that future generations can open again and again, at the table, together.
Sources
- How to Preserve Family Archives (papers and photographs) — National Archives
- Preserving Family Recipes — National Archives, Prologue Magazine
- 5 Tips for Preserving Your Family Recipes for Generations — Food Network
- Archival Storage of Paper | Guide to Collections Care — Gaylord Archival
- How to Save Your Handwritten Recipes — CreateMyCookbook
- How to Turn Family Recipe Cards into a Keepsake Recipe Book — Artkive
- How to Create a Family Cookbook: A Step-by-Step Guide — The Family Cookbook Project
- How to Make a Cookbook and Preserve Family Recipes — Erin Condren
- How to Make a Family Cookbook That Will Be Treasured Forever — Hearts Content Farmhouse
- Create a Family Recipe Book Together - Start Now! — Miller Funeral Home & Crematory
- How to Create a Family Recipe Book - Picture This Organized — Picture This Organized
- Your 10-step plan for making a family cookbook — Modern Heirloom Books
- How Do You Preserve Family Recipes? — Cup of Jo
- Recipe Rescue: Preserve Family Recipes Digitally — Scan.Recipes